• Home
  • Suggest A DIY
  • DIY Newsletter

Jewelry Making

DIY Jewelry, Beads And Patterns

  • About CraftGossip
  • Our Network
    • Bath & Body Crafts
    • Candle Making Ideas
    • Crochet Ideas
    • Cross Stitch
    • Edible Crafts
    • Felting Patterns
    • Glass Art
    • Home & Garden Ideas
    • Indie Crafts
    • Jewelry Making
    • Kids Crafts
    • Knitting Patterns
    • Lesson Plans
    • Needlework
    • Party Ideas
    • Polymer Clay
    • Quilting Ideas
    • Recycled Crafts
    • Scrapbooking
    • Sewing Patterns
    • Stamping
    • DIY Weddings
    • Not Craft Ideas
  • Giveaways
  • Roundups
  • Christmas
  • Search
  • Our Store

DIY Pearl Bridal Earrings That Look Stunning

July 1, by Shellie Wilson.

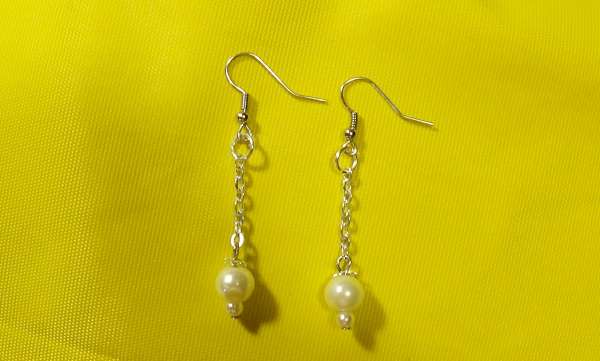
DIY Wedding Pearl Earrings

It is a lot of fun to make your own stunning earrings using white pearl beads. All you need is tools,
supply and imagination. Make the earrings for yourself or offer them as a gift because these beautiful
jewels are perfect for weddings and other events.
Below I will show how to make a nice pair of wedding pearl earrings.
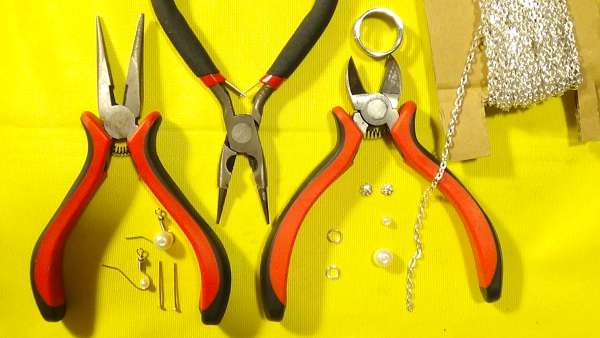
1. You will need:
– a pair of round nose pliers
– a pair of chain-nose pliers
– a pair of cutting pliers
– a jump ring opener
– 2 fish hook ear wires
– 2 small pearl beads
– 2 large pearl beads
– 2 head pins
– 2 jump rings
– 2 pieces of chain
– 2 bead caps

Duration: 14-15 minutes

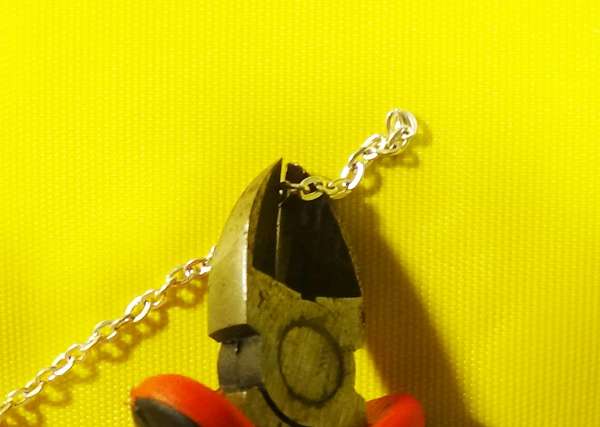
2. Cut the chain to the desired size, using the cutting pliers.

3. Thread the pearl beads onto the eye pin. Add the bead cap.


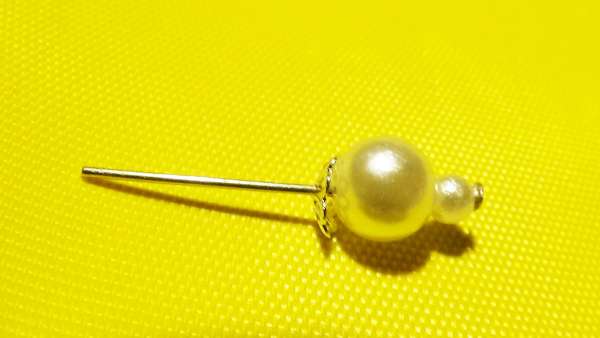
4. Cut the eye pin to size, using the cutting pliers. Make sure to leave 0.4 inches (1 cm) between
the last bead and the end of the wire to form the loop. Bend the pin to an angle of 90 degrees with the
chain nose pliers.


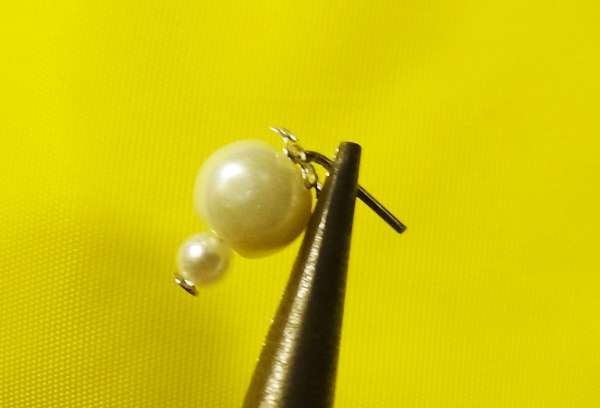
5. With the round nose pliers, curl the top of the eye pin, forming the loop.

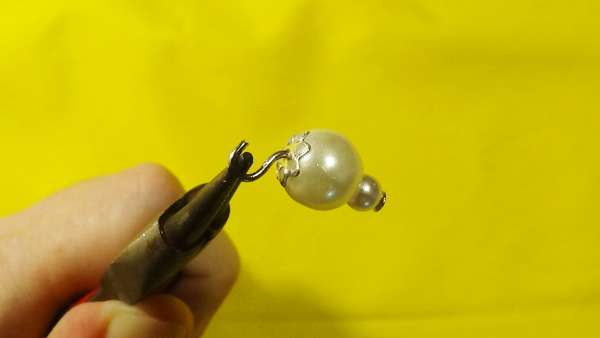
6. Attach the chain to the loop.

7. Open the jump ring with the jump ring opener and the chain nose pliers.

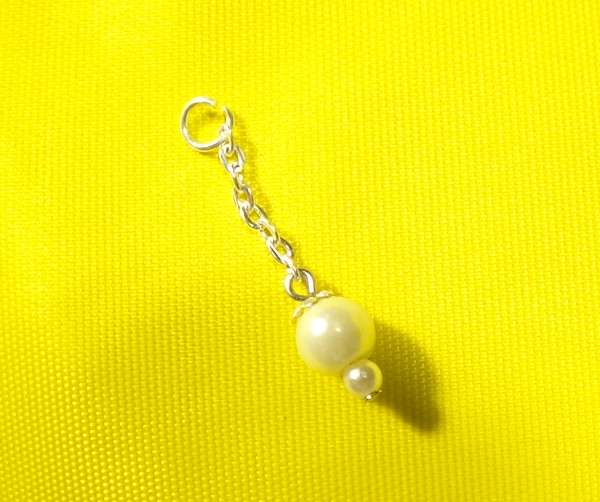
8. Attach the chain to the jump ring.

9. Attach the jump ring to the fish hook ear wire. Close the jump ring.

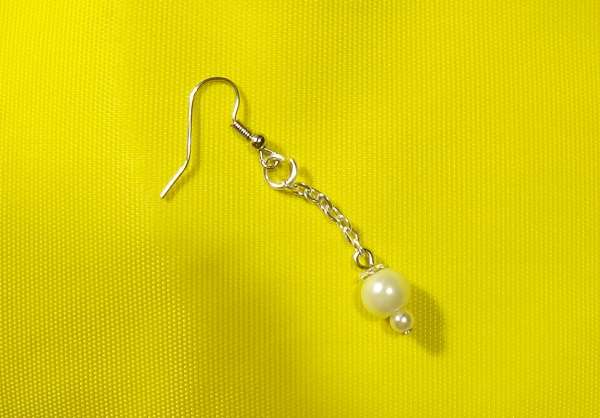
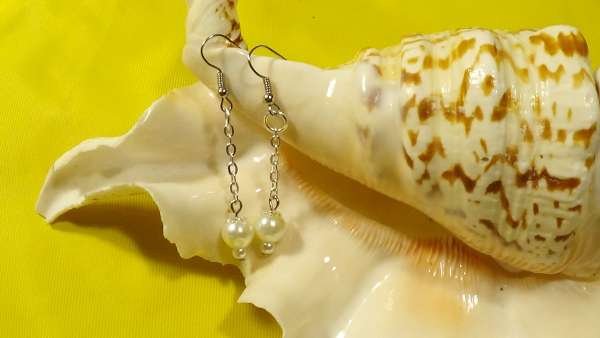
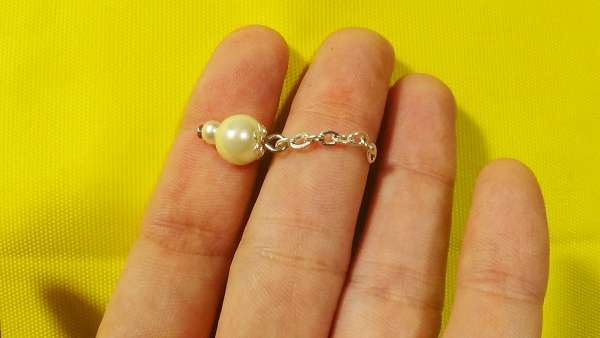
10. Repeat the entire process, to make the second earring. Enjoy the earrings you created!


Next Idea:

  • Recycled Tool Nut Dangle Earring
«
»

Have you read?

DIY Cricut Cut Faux Leather Earrings

Welcome to this step-by-step tutorial on how to create your own unique and stylish earrings using Dollar Tree Faux Leather and a Cricut machine. If you’re someone who loves crafting and is always on the lookout for new and exciting projects, then this tutorial is perfect for you. Not only are these earrings easy to make, but they also have a natural and bohemian look that is perfect for those who love earthy and organic styles.

Making these earrings is a simple and budget-friendly project that can be completed with just a few supplies from the Dollar Tree and your trusty Cricut machine. The faux leather is a great alternative to real leather as it’s more affordable and easier to work with, allowing you to create beautiful and unique earrings without breaking the bank. Plus, with the Cricut machine, you have the ability to cut out any design you want, making these earrings truly one-of-a-kind.

This tutorial is perfect for crafters of all skill levels, whether you’re a beginner or an experienced crafter. The instructions are easy to follow and the end result is a beautiful and stylish pair of earrings that you’ll be proud to wear. So, gather your materials, fire up your Cricut machine and let’s get started on creating some beautiful and unique earrings that you’ll love to wear.


RSS From The Network

  • Flower Bouquet Cross Stitch Patterns
  • How to make concrete Easter eggs
  • Chick Knitting Patterns
  • Baby Afghans Little Boy Blue Crochet ePattern
  • 20 Must Try Recipes Using Cadbury Creme Easter Eggs
  • 10+ Easter Bunny Cards using Stamps and Dies
  • DIY Farmhouse Wall Shovel
  • Religious Easter Activities for Kids
  • Bobble Knitting Patterns
  • Free Crochet Pattern – Market Bag

Trending popular ideas

12 Free Peyote Beading Patterns
101+ Free Beading Patterns
13 DIY Leather Bracelets You Can Make At Home
Tips for a Beginning Jewelry Making (Or Any Jewelry Artist Needing a Little Pick-Me-Up)
7+  Ways To Make Your Own Breast Milk Jewelry
6 Ways To Make A Button Necklace
How To Make A Resin Rolling Tray
8 Ways to Make Pearl Jewelry
9 Cluster Earring Tutorials
Adjustable Cord Bracelet Tutorial

Pick Your Blog

  • Sewing
  • Knitting
  • Quilting
  • Crochet
  • Home & Garden
  • Recycled Crafts
  • Scrapbooking
  • Stamping
  • Polymer Clay
  • Cross-Stitch
  • Edible Crafts
  • Felting
  • Glass Art
  • Indie Crafts
  • Kids Crafts
  • Jewelry Making
  • Lesson Plans
  • Needlework
  • Bath & Body
  • Party Ideas
  • Candle Making
  • DIY Weddings
  • Not Craft
  • Free Craft Projects

Categories

Beading Craft Inspirations DIY Tutorials and Patterns Felt/Fiber Jewelry For Men Jewelry Making - General Jewelry making - Supplies Jewelry Making Techniques Jewelry Making Tutorials and Ideas necklace recycled/upcycled Wire Work

Copyright © 2023 · CraftGossip | Start Here | Contact Us | Link to Us | Your Editors | Privacy and affiliate policy

Copyright © 2023 · Sprinkle Theme on Genesis Framework · WordPress · Log in