Pretty jewellery has a lovely way of finishing an outfit, doesn’t it? A simple bracelet or necklace can add personality, colour, elegance, and that little “I made an effort” sparkle without needing to change your whole wardrobe.
The trouble is, beautiful jewellery can also come with a rather beautiful price tag.
That’s why making your own jewellery is such a satisfying craft. Not only can you save money, but you can also create a larger collection of accessories to mix and match with different outfits. Even better, handmade jewellery gives you something truly individual — a piece that reflects your own style and won’t be found sitting in a shop window or worn by half the room at a party.
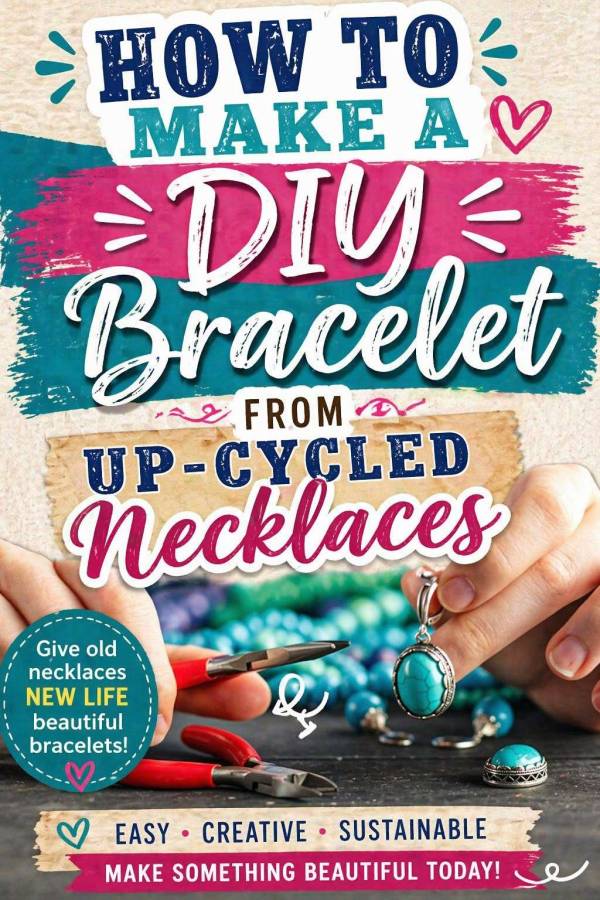
This easy jewellery project shows you how to make a charm bracelet from an old necklace, giving forgotten beads, chains, and charms a second life. It’s a simple upcycled jewellery idea and a lovely way to turn something you no longer wear into a bracelet that feels fresh, pretty, and completely unique.
You will need:
An old necklace (a part of it about 6-7 inches)
Eye pins or headpins (small metal pins with a loop or flat end)
Beads of your choice with a small hole
Pliers
clasp
Jump rings
Tweezers (optional)
Scissors
Step 1: Measure your wrist and cut the necklace to the desired length. If you can’t cut the necklace, pull the links apart in the appropriate place.
Step 2. Hold a jump ring in one hand near the join using the tweezers or your fingers, with the pliers pull the other side of the join towards you slightly. Slide the clasp onto the open ring, slide the ring onto the end link of the chain and close the ring.
Step 3. Slide one (or as many as you want) of your beads onto a head or an eye pin, cut a small amount off the top (this will depend on the size or number of your beads, you may want to do a practice one before you start, keep this as something to measure the others against)
Step 4. Hold the tip of the pin in the tip of the pliers, roll the hand holding the pliers forward, this will create the beginning of the loop. Hold the pliers on the top of the loop you just made and roll the pliers again to close it. You may need to bend the wire underneath the loop towards you slightly; this may help you to create a more even loop. This is called a turned loop.
Step 5. Gently open the loop again, slide it onto the link of the bracelet and close with the pliers. Note: once you have had a little practice, you can slide the pin through the link and then close it, but this is easier for beginners as you will be able to get a more .even professional looking turned loop
Step 6. Repeat this process for as many links as you need, once you have got the hang of making he turned loop it will only take you a few minutes to do a whole bracelet, it’s really quite simple once you get the knack of it.
Step 7. Attach a jump ring (as described) to the last link of the chain.
Bracelets are a versatile accessory, perfect for casual or more formal occasions. Creating a chunky, glamorous bracelet from strands of vintage necklaces is a unique way to put antique items to new use.