 Boho feather earrings are one of those handmade jewelry projects that never really go out of style. They have that relaxed festival feel, a little bit of movement, and just enough colour and texture to make even a plain outfit feel more interesting.
This DIY feather earring tutorial shows you how to make your own pair using craft wire, faux feathers, wooden beads, seed beads, and basic jewelry-making tools. It is a lovely project if you enjoy handmade accessories with a natural, bohemian look, but don’t want anything too complicated or expensive.
What I like about feather earrings is how easy they are to customise. You can use soft neutral feathers for an earthy everyday pair, bright feathers for a fun statement look, or beads from your stash to create earrings that match your own style. And let’s be honest, most of us jewelry makers have at least a few stray beads and odd bits of wire tucked away just waiting for a project like this.
These handmade boho earrings are great for beginners who want to practise simple wire shaping, bead placement, and working with earring loops. They also make sweet handmade gifts, market stall items, or festival accessories. Once you make one pair, you will probably start looking at every feather and bead combination as a possible earring set.
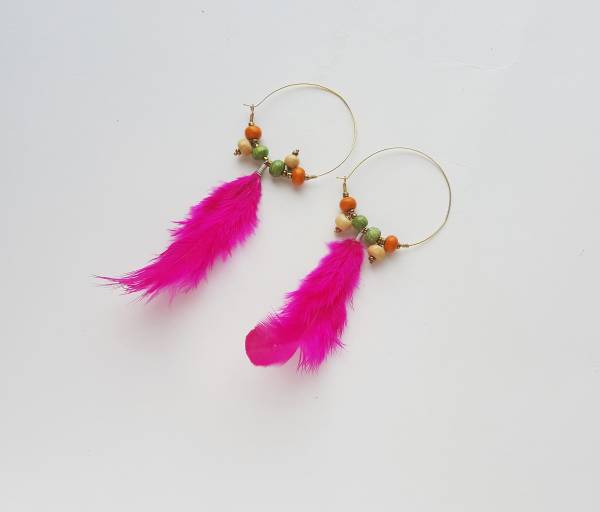
This tutorial is for a pair of Feather Loop Earrings. This jewelry making tutorial is easy to follow, you can choose your own beads and feather colors to suit your Boho Style.
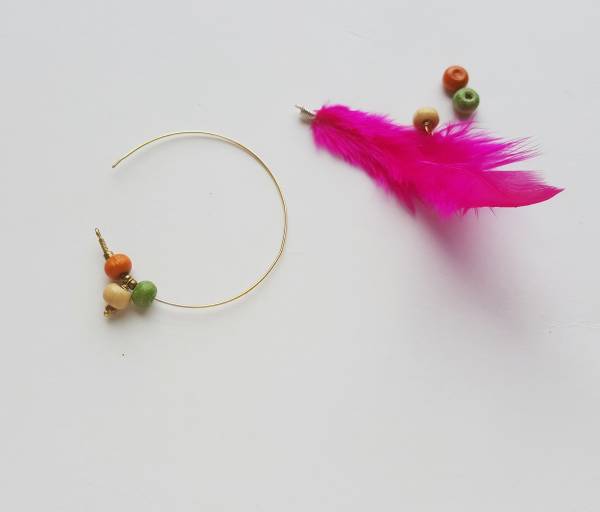
List of Supplies:
1. Craft wire – 20 gauge and 24 gauge
2. Craft pliers – cutting, looping and flat nose pliers.
3. Strong adhesive glue
4. Faux colored feathers – 2
5. Wooden beads
6. Seed beads
7. Head pin wire
Instructions:
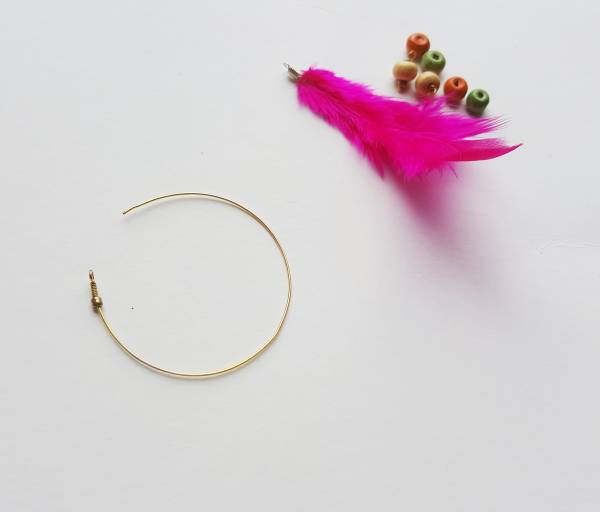
Step (1)
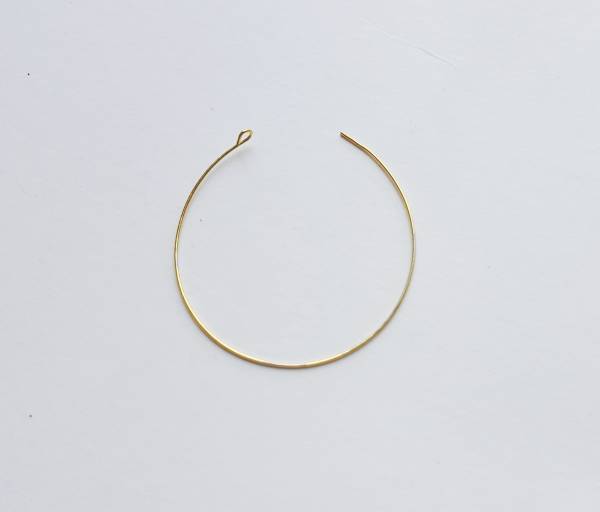
Measure the circumference of the lop erring and cut out 2 pieces of the same size wires from the 20
gauge wire according to the measurement. Take any one of the wires and form a loop pattern with
the cut out wire. Use the looping piers to create a small loop at any one end of the loop pattern.
Keep the other end open.
Step (2)
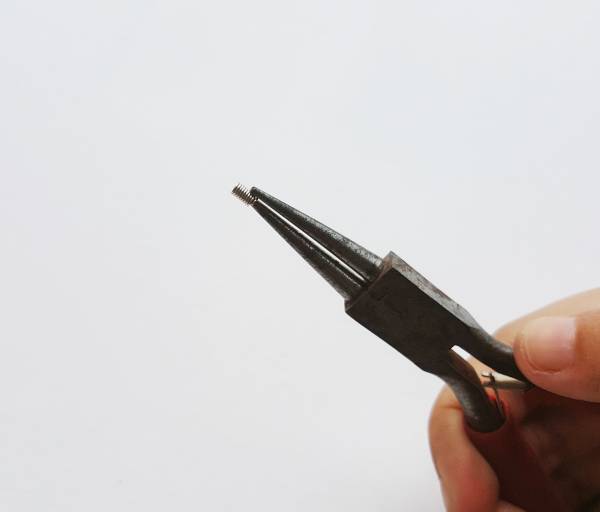
Take the 24 gauge wire and create a tight spring pattern with the help of the smallest end of the
looping piers. Cut off the spring pattern from the wire bundle once it reaches 1 cm length.
Step (3)
Pull up one loop of the spring pattern from any one end to 9 degrees. Keep the other end of the
spring pattern intact.
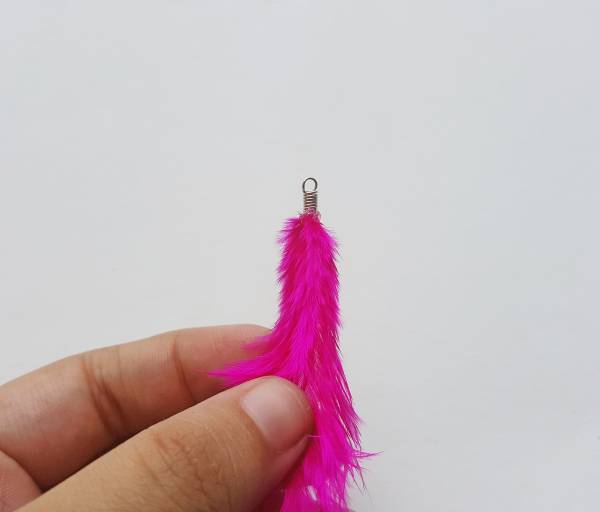
Step (4)
Take a faux feather and insert the quill part of the feather through the intact part of the spring
pattern. Apply a drop of strong adhesive glue to make sure that the feather and the spring are
joined securely.
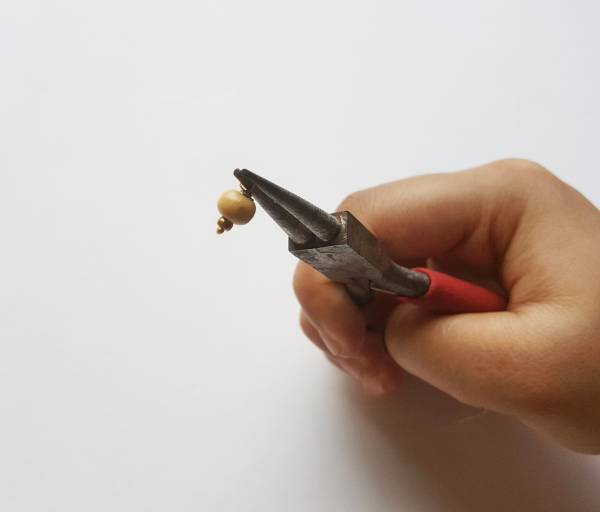
Step (5)
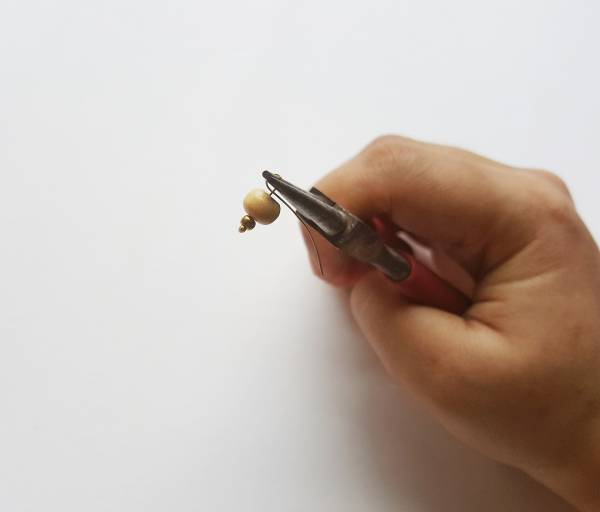
Take a headpin wire and insert a seed bead and then a small wooden bead through its open end.
Create a small loop adjacent to the wooden bead at the pen end of the wire.
Step (6)
Coil the remaining wire of the head pins’ open end below the loop.
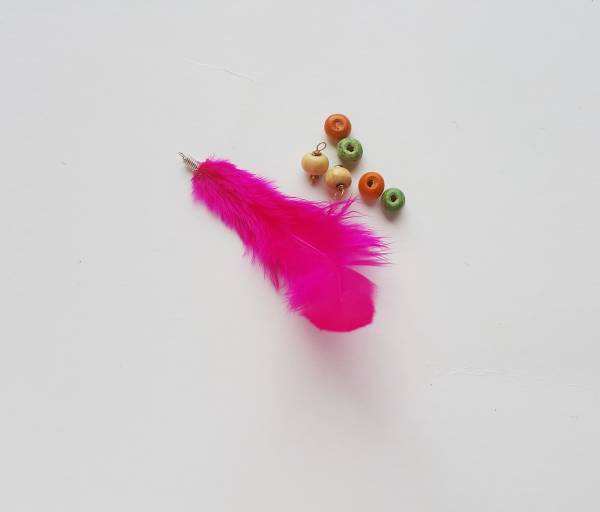
Step (7)
Similarly, prepare another beaded headpin. Gather the feather prepared in step 4, the beaded
headpins, some seed beads and wooden beads.
Step (8)
Take the loop created in step 1 and coil the 2 gauge wire adjacent to the small loop created at one
end. Stop coiling once it reaches 1 cm length and cut off wire. Insert a seed bead through the open
end of the large loop and push it near the coiled wire.
Step (9)
Insert wooden bead, another seed bead, the beaded headpin, another seed bead and 1 seed bead
into the large loop.
Step (10)
Insert the feather into the large loop through the loop at one end of the spring pattern. Now repeat
step 9 from backwards. You can come up with your own pattern for the beading.
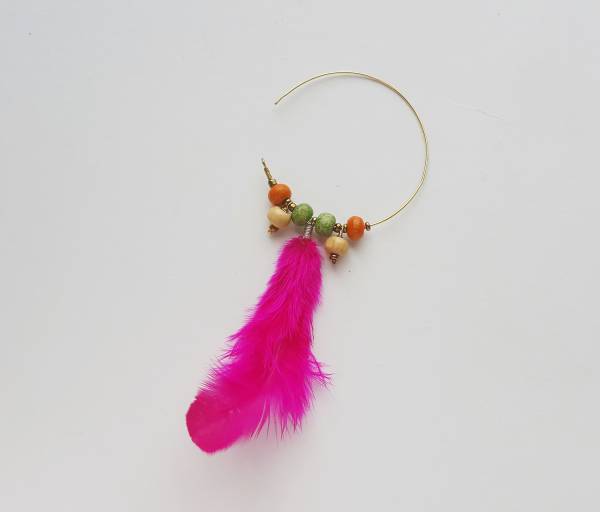
Step (11)
Use the flat nose pliers to bend half cm of the pen end of the large loop to 9 degrees. By inserting the
bent part of one end to the loop of the other end, the large loop (earring) can be closed.
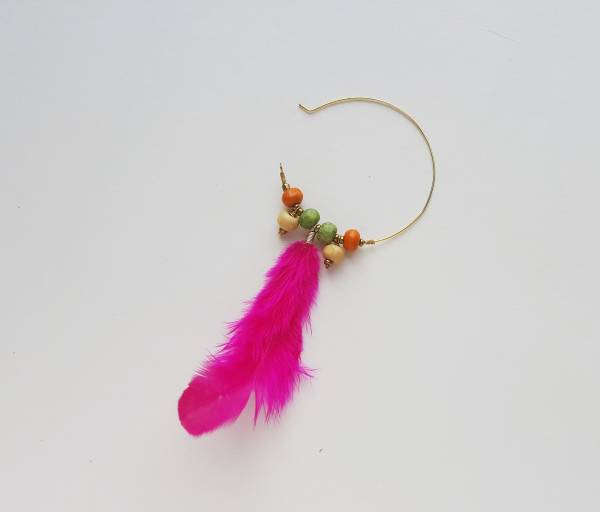
Step (12)
Similarly, create the other pair of earrings.